Reverb is an essential tool in the arsenal of both the Sound Engineer and the Producer alike. It wasn't until the late 1930’s that the first artificial reverb was created, which finally enabled the Sound Engineer to control and shape the sound of reverb. Skip forward to 1976, where the next big milestone in the history of Reverb belongs to EMT, as they created the world's first digital reverb unit, the “EMT 250". As the years went by, more and more companies began to develop and release their own styles of reverb units, each one with its own unique sounds and characteristics.
But what is reverb? In basic terms, reverb is the emulation of the sound of a specific "space". This "space", for example, could be a room, a hall, or a cathedral. Sound Engineers and Producers can creatively use reverb to make it sound like elements of their mix are placed within these virtual spaces.
Reverb is a versatile effect which can be used in various different ways within a track. It can be used in subtle measures in order to help "glue" elements within a track together. It can be used to push elements further back within a mix, giving a feeling of depth to a mix. It can also be used in more extreme measures in order to create large-space special effects within a track. It is a universally used effect which is found across all genres, from Pop and Rock to dance music genres such as House, Techno and Trance. Reverb is particularly crucial within genres such as Minimal Techno and Deep House (where the tracks are quite minimal in nature), as it can help keep the track alive by creating stereo width, adding a sense of depth to the mix, and keeping the listener engaged by adding overall interest.
Digital Reverb - Convolution vs Algorithmic
When discussing Digital Reverb, there are two general types that we need to be aware of : Convolution and Algorithmic. As you may have guessed from the name, an Algorithmic reverb is a mathematical system that simulates delays that you would expect to experience within a natural space. A “hypothetical” room for use of a better term. Although (arguably) these do not sound quite a natural as their Convolution Reverb counterparts, Algorithmic Reverbs became very popular with both Producers and Engineers alike due to being relatively light on CPU processing power, which frees up the processor for other crucial tasks.
Convolution Reverbs use Impulse Responses (IR) of digitally captured real-life "spaces", allowing their users to place sounds within that "space". Convolution Reverb has become more popular in recent years due to both its diversity and flexibility, along with the increased processing power of computers. For example, if you really like the sound of a specific space or room (eg, your local concert hall), you can sample the IR of that space, load it into a Convolution Reverb, and then use that "space" for elements within your own track.
** SOUND TRAINING TIP : Be very careful if using reverb on low frequency elements such as a subby kick drum or bass, as when reverb is applied to these low frequency sounds it can become "muddy" and become detrimental to the overall mix. **
Common Reverb Parameters :
Room Size: Room Size does exactly what it says on the tin. It relates to the overall size of the space in which your reverb is located. A larger room size will usually equate to a longer sounding reverb, where a smaller size will give the impression that the sound is in a smaller, tighter space.
Pre-Delay: Pre-Delay is the time for the original sound source to hit the first reflective surface within the space. For example, if you set your reverb unit up to have a long pre-delay, it gives the impression that the sound has been placed in a bigger room, where a shorter pre-delay again would give the impression of a smaller room or space.
Decay: Decay time relates to the amount of time it takes the reflections in a room to run out of energy. Again, a longer decay time would equal more energy within the sound and give the impression of a larger space. Long decay times could be used on pads or string elements, where a shorter decay time might be more at home on shorter percussive elements such as a snare or closed hi-hat.
Damping: Damping refers to the amount of absorptive surfaces that are in the room. For example, a room full of people will sound differently to the exact same room that is completely empty. The room that is full of people will have high damping, as the reverb tails will lose energy (through being absorbed) as they bounce around within the space. Alternatively, the empty room will have a much lower damping effect, as there are far less absorptive surfaces within the room to absorb the reverb tail.
Diffusion: Diffusion refers to the number of directions in which the reverb travels once it hits the reflective surface. A high diffusion results in a thicker reverb sound, with all of the reflections blending together, where a low diffusion can result in the reverb reflections sounding much more distinct.
Wet/Dry: The Wet/Dry balance setting is used to apply the amount of reverb you want to affect the sound. For example, 100% Wet (0% Dry) means the sound source has 100% of the reverb affecting it. When set at 100% Dry (0% Wet) then no reverb will be heard on the sound. This parameter would primary be used if using Reverb as an Insert effect as opposed to a Send effect.
Examples of well-known reverb units
Hardware
- Reverberation Unit EMT 14 (The world's first plate reverb)
- Lexicon PCM 70
- Yamaha SPX 90
Software
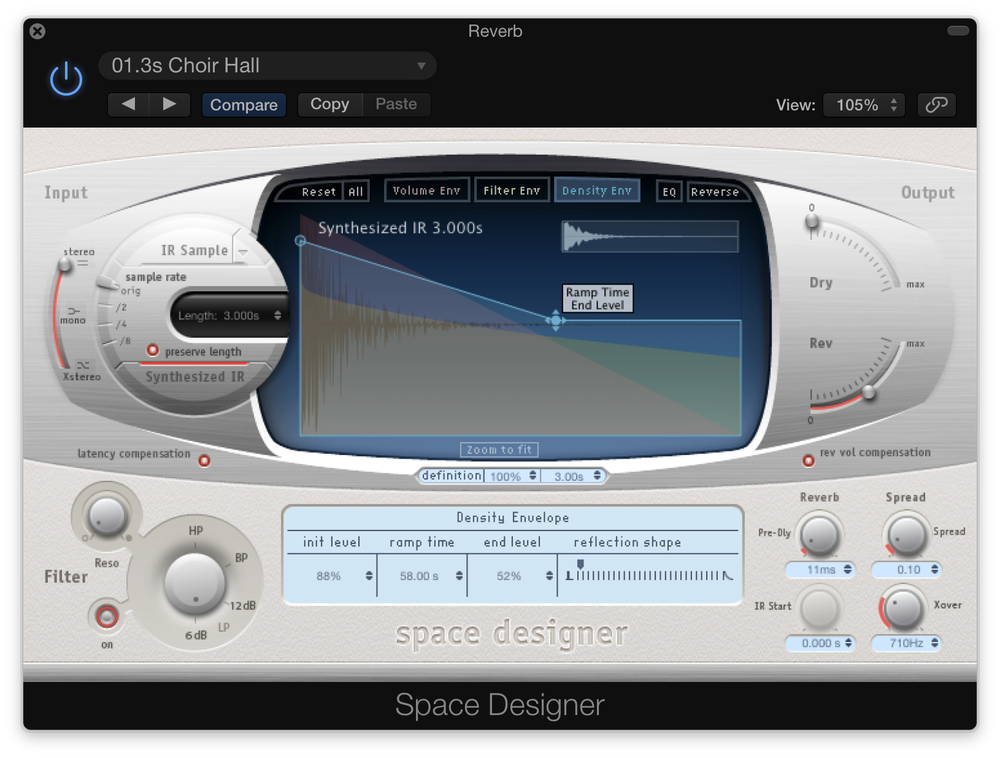
- Logic Pro X – Space Designer (Convolution Reverb)
- Waves – Trueverb (Algorithmic Reverb)
- Valhalla Range - Plate/VintageVerb/Room (Algorithmic Reverb)
- Audio Ease Altiverb 7 (Convolution Reverb)
- Eventide - Blackhole (Algorithmic Reverb)
Applying Reverb Within A Track
Native Instruments Maschine has a number of different built-in reverb units, such as Reverb, Ice, Reflex, and Plate. Each one of these units has their own unique characteristics, but as with most reverb units, they all have roughly the same parameters. In the following videos we will see how reverb can be used to blend multiple elements within a track together.
Part 1
Part 2
As we can see from the above videos, it’s the subtle additions within a track (such as reverb) that can help bring your productions from sounding semi-professional to professional, with a few alterations and experiments!
The above video is taken from Module 5 of the Music Production with Maschine course. This course is provided by Sound Training Online and is taught by Hybrasil (the alias of pro DJ / Producer Will Kinsella). For more information regarding this course, please click here.
Sound Training Online is a provider of top quality online music production and Dj’ing courses. For more information and to check out some free courses, please visit https://soundtraining.com/online/.